how to change air filter

How to Change an Air Filter: The Rotary Screw Compressor Replacement Procedure
A blocked intake air filter is the most ignored fault in a compressed-air room, and it announces itself in ways that get blamed on everything else. Delivery drops, so the machine runs longer to make the same air. Discharge temperature climbs, because the airend is working against a vacuum it was not designed for. Then it trips on high temperature on a warm afternoon, and somebody inspects the cooler before anybody looks at the filter.
Changing an air filter takes fifteen minutes on most rotary screw machines and costs a fraction of one scrapped shift. This page covers the actual procedure — when to change it, what to inspect while the housing is open, the nine steps from isolation to re-set, and the checks that confirm the job held. It is written around a real part: the FGMI C1368 / SA6620 / 98262-205 air filter, OD 130 mm x H 120 mm, a replacement element for screw compressors.
- What the Intake Air Filter Is Doing, and When It Is Finished
- Filter Element Types and What Each One Fails Like
- Part Specification Table, With Data Source Stated Per Row
- Where a 130 x 120 mm Element Sits, and What Changes Between Installations
- The Nine-Step Replacement Procedure
- Frequently Asked Questions
- Summary, Spares Policy, and How to Order
1. What the Intake Air Filter Is Doing, and When It Is Finished
The intake filter is the only thing standing between your airend and the air in the room. A screw airend swallows the whole volume of its own delivery — a modest machine moves several cubic metres every minute — and everything suspended in that air arrives at the compression gap: paper dust, wood fibre, gypsum, food dust, tyre black, welding fume, oil mist from other machines, and the lint that a textile shed puts into suspension by existing.
Inside, that load does three separate jobs of damage. It abrades the rotor tips and shortens element life, which is the expensive one. It fouls the oil separator and the cooler, and a blocked cooler is a high-temperature trip. And it degrades the filter itself until one of two things happens: the media plugs and flow collapses, or the media tears and you get an unfiltered machine with a clean-looking housing.
The change trigger: hours plus condition, never hours alone
For this class of element the manufacturer's stated service life is 3,000 to 4,000 hours under normal conditions, and it is published with an explicit caveat that the real interval "is highly dependent on the operating environment". Treat that number as the baseline for a clean plant room, not as a schedule. Shorten it — and inspect weekly — where any of these are true:
- the compressor's air intake sits in the same room as the process, rather than in a separate plant room or via a duct to outside air;
- the environment generates fibre or dust: woodworking, paper and board, textile, food, foundry, welding, plasterboard, flour or grain handling;
- other equipment nearby discharges oil mist or coolant mist into the same air the compressor breathes;
- the machine runs hot or loaded for long stretches, which pulls more air per production hour than a duty-cycled machine;
- the previous element came out visibly grey-black, oily, or with media that had started to collapse.
2. Filter Element Types and What Each One Fails Like
"Air filter" on a compressor datasheet can mean two different parts, and mixing them up is how people change the wrong one. Both are radial pleated elements; they differ in what they protect and in what happens when they die.
| Element | Where it sits | How it fails, and what you see |
|---|---|---|
| Intake air filter (this part) | Upstream of the airend inlet, in a hood or canister; often outside the acoustic enclosure so it can breathe room air. | Plugs gradually: rising inlet vacuum, falling free air delivery, longer load time, hotter discharge. Because the drop is slow, operators adapt instead of noticing — the machine gets blamed for "losing power". |
| Air filter / line filter downstream | In the pipe train after the separator, dryer or receiver, protecting tools and product. | Pressure drop across the filter housing, moisture or oil reaching the point of use, differential-pressure gauge climbing. Product defects appear before the gauge does. |
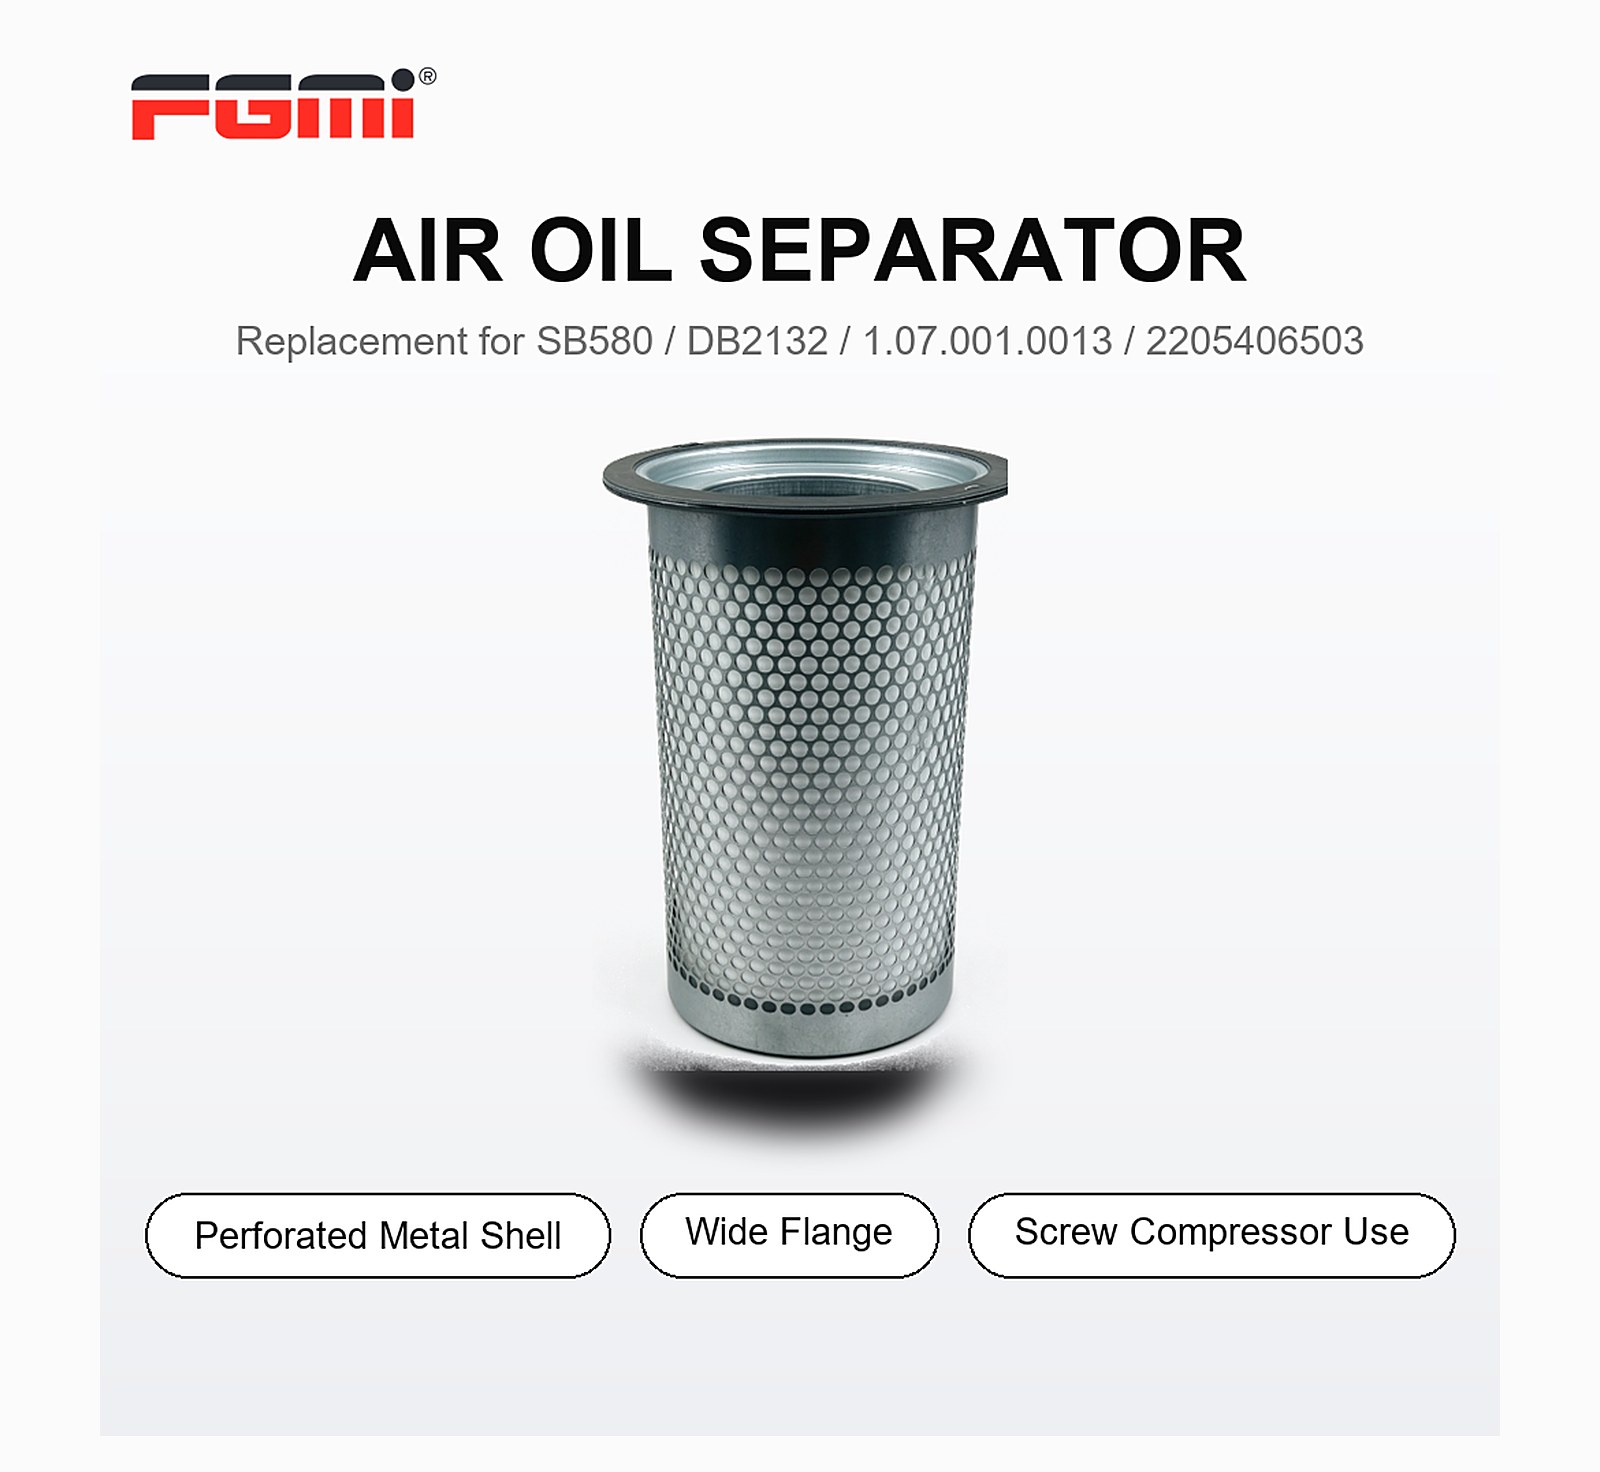
| Oil separator element | In the oil separator tank, not in the air intake path. | Oil carry-over into the air lines, oil in condensate at the point of use, rising internal pressure difference. Frequently mis-diagnosed as a failed downstream filter. |
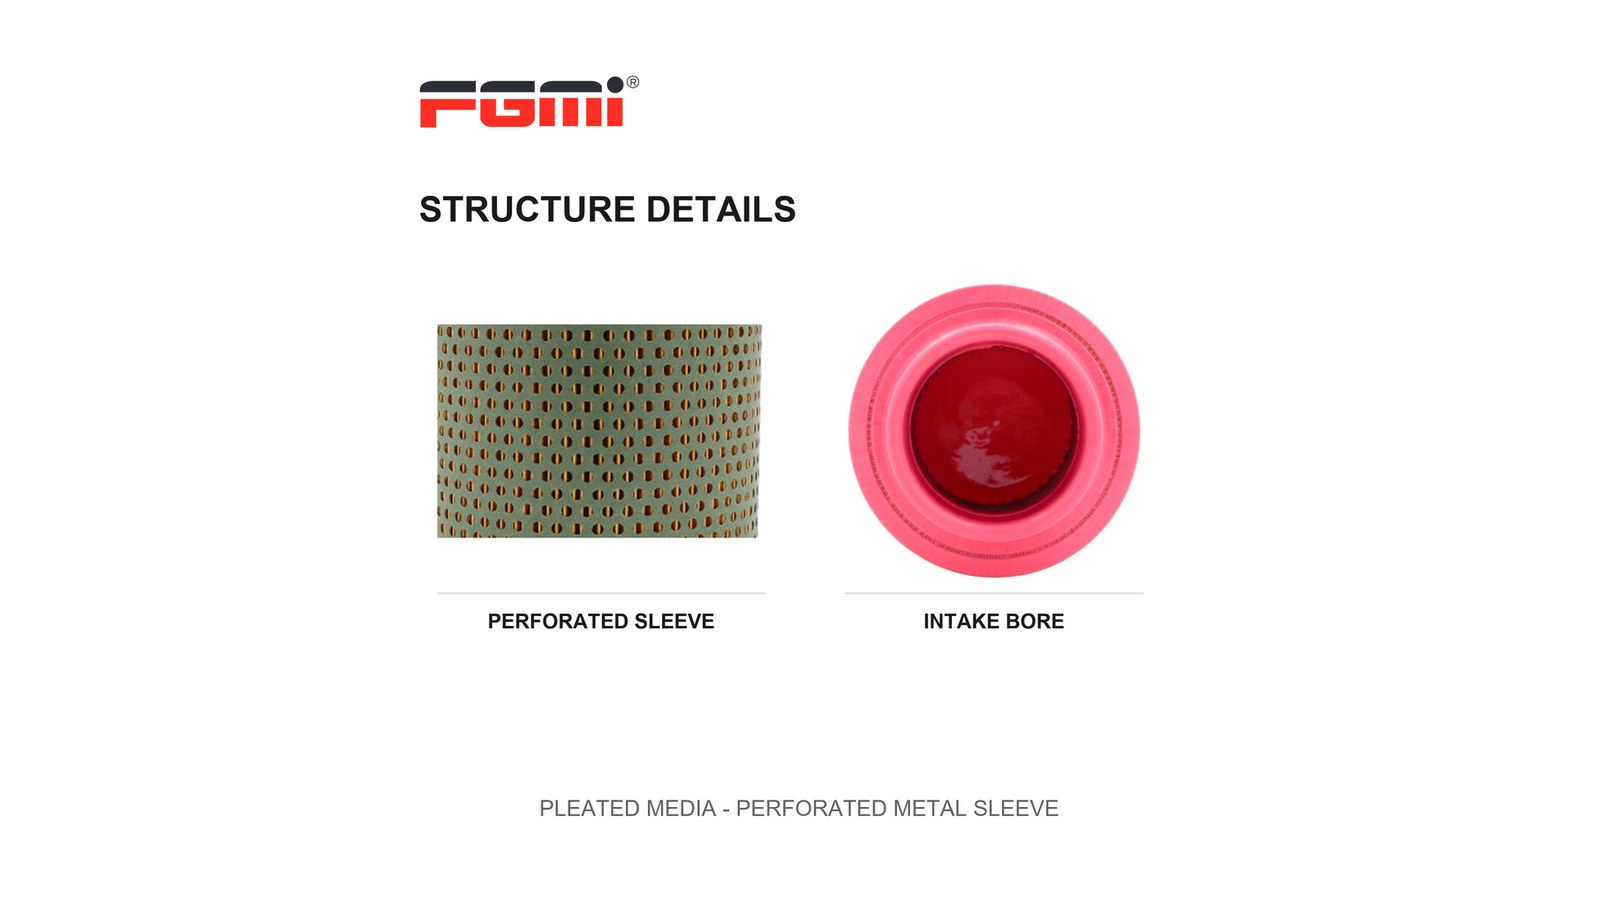
Elements also differ by end-cap and core construction. The part used here has moulded plastic ends with a metal perforated sleeve as the core and an intake bore at the centre — the construction shown in the structure image above. That combination tells you two practical things: the pleats need the sleeve behind them, so a collapsed element often means the sleeve has been damaged or was left out after a previous clean; and the sealing faces are plastic, so overtightening a threaded housing or dropping the element cracks the end cap and the seal leaks air that never passes the media.
3. Part Specification Table, With Data Source Stated Per Row
These are the published values for the replacement element used as the worked example on this page. Rows that the listing does not publish are marked Not published rather than filled in with a typical figure — for a filter element, the two missing rows that matter most are filtration efficiency and dust-holding capacity, and no supplier should be allowed to leave those to guesswork.
| Parameter | Value | Data Source |
|---|---|---|
| Part | Air Filter, screw compressor replacement element — FGMI | Product listing |
| Cross-reference codes | C1368 / SA6620 / 98262-205 | Product listing highlights |
| Type | Air Filter | Supplier declaration |
| Suitable for | Air Compressor | Supplier declaration |
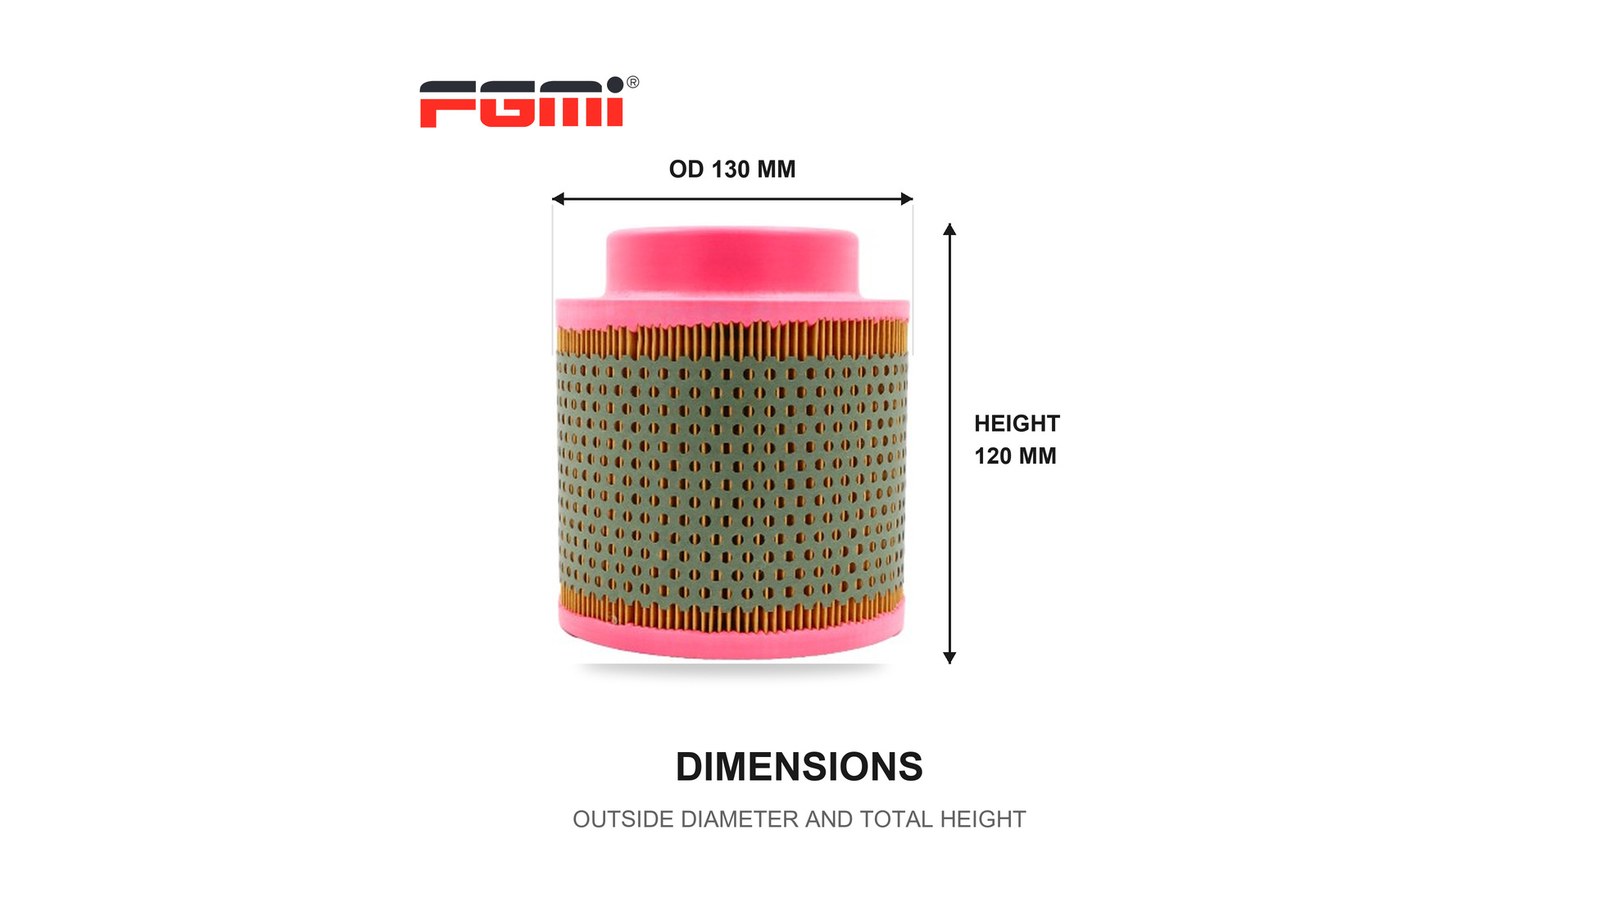
| Outer diameter x height | OD 130 mm x H 120 mm the only sizing datum on the listing — measure your housing, not the old media | Supplier declaration, model designation |
| Materials | Aluminium, metal, plastic, stainless steel; media colour brown | Supplier declaration |
| Construction | Radial pleated media, perforated metal sleeve core, central intake bore, moulded end caps | Structure image on the listing |
| Service life | 3,000 to 4,000 hours under normal conditions, explicitly environment-dependent | Supplier FAQ, quoted |
| Warranty | 1 year | Supplier declaration |
| MOQ | 1 piece; logo customisation also from 1 piece | Supplier declaration and FAQ |
| Delivery | 3 to 7 days; stock items quoted at 1 to 3 days, customised orders by agreement | Supplier declaration and FAQ |
| Packing | Single item, 18 x 18 x 16 cm, 0.55 kg gross | Supplier declaration |
| Inspection | Machinery test report provided; video outgoing inspection provided | Supplier declaration |
| Quality system / certification | ISO 9001; CE certificates M.2025.206.C132373 (to 2030-12-23) and M.2026.206.C136267 (to 2031-03-09), supplier-owned, verified by SGS Group | Certificate panel on the listing |
| Origin / after-sales | Guangdong, China (factory in Dongguan); online support | Supplier declaration |
| Filtration efficiency / grade | Not published — ask for the efficiency curve or the test standard before you buy on price alone | Not published |
| Dust-holding capacity | Not published. This is the figure that decides your real interval; without it, the change schedule has to come from measured inlet vacuum | Not published |
| Media type and fibre diameter | Not published. Cellulose, micro-glass or a blend changes both efficiency and life; wet or oily intake air rules out plain cellulose | Not published |
| Initial and terminal pressure drop | Not published. The terminal delta is the correct end-of-life trigger; in its absence, use the measured-vacuum method in section 5 | Not published |
Why the four blanks are left blank. A substitute element that matches on OD and height will physically fit and still cost you money: if its media is finer than the original, the terminal delta arrives sooner and delivery falls; if it is coarser, airend wear rises and the oil separator takes the load instead. Dimensions decide fit, media decides performance. Ask for the four missing rows in writing before you change supplier on price.
4. Where a 130 x 120 mm Element Sits, and What Changes Between Installations
A 130 mm outer diameter with a 120 mm height is a small element, which puts it on compact rotary screw machines in the lower power band, on portable compressors, and on the intake side of several OEM air-end families. It is also a size shared by more than one part number across brands, which is exactly why the cross-reference codes — C1368, SA6620 and 98262-205 — are the safer way to order.
Three installation details change the job even when the element is identical:
- Hood intake versus ducted intake. A hood drawing room air picks up whatever the room contains; a duct to outside air picks up rain, leaf litter and insect ingress at the cowl instead. If you are changing the element every 2,000 hours and the room is dusty, the fix is the duct, not a cheaper element.
- Pre-cleaner fitted or not. A cyclonic or vane pre-cleaner throws out the coarse fraction before it reaches the media and typically extends element life sharply in dusty plants. If the housing has one, its collection cup and vane stack are part of the service, and blocking them starves the intake.
- Restriction indicator fitted or not. Some intakes carry a differential-pressure gauge or a visual restriction indicator; many do not. Without one you are scheduling on the clock rather than on the condition of the filter, which is the most common reason a filter is changed either far too often or far too late.
Ordering rule. Quote the cross-reference code first and the dimensions second. Two elements can share OD 130 mm x H 120 mm and still differ in inner bore diameter, end-cap thickness, gasket profile and pleat count — and it is the bore and the end cap that decide whether the element seals or bypasses.
5. The Nine-Step Replacement Procedure
Work the steps in this order. The two that are most often skipped — recording the inlet condition before you open the housing, and confirming the seal after you close it — are the two that cause the callbacks.
- Record the baseline before you touch anything. Note the running hours, the discharge-temperature trend and, if there is a differential-pressure gauge, its reading at the current load. Without that number you cannot tell after the change whether the filter was the fault, and you cannot build a real interval for this machine.
- Isolate and depressurise. Stop the machine at the controller, take it out of automatic, apply your lock-out, and let it blow down until the internal pressure reads zero. On an oil-injected machine the separator vessel holds pressure after the motor stops; do not break the intake circuit before it has vented.
- Clean the housing exterior before opening it. Wipe, and where there is loose debris, vacuum the lid and the joint line. Every grain you leave on the flange falls into the housing the moment you lift the cover — the classic reason a new element fails early.
- Open the housing and withdraw the element. Release the clips or the knob, support the element as you free it, and pull it out straight so the media never drags across the housing lip. Note how it sat; some housings index the element by the end cap.
- Read the old element as evidence, then discard it. Even grey dust is normal. Oily or black wet deposits mean carry-over or a wet intake and are a separate fault to chase. Media ironed flat against the sleeve means the end-of-life pressure drop had already been passed. Check the clean side too: dust on the inside proves the seal or the media had already failed.
- Clear the housing and inspect behind the element. Vacuum out the sump, confirm any anti-drain or flap valve moves freely, look at the inlet valve and the perforated sleeve, and confirm the sealing face is flat, clean and undamaged. On a machine that has run with a leaking element, this is where you find the grit that has already reached the inlet valve.
- Fit the new element dry and square. Check the outer diameter and the height against the datasheet before you close anything, seat it by hand with no force, and confirm the gasket is uncompressed and continuous all the way round. Never lubricate an intake seal and never tap an element home — a pleat crushed at the entry is a bypass no gauge will show.
- Close, tighten evenly, and re-check the intake path. Refit the lid and fasteners so the clamp load is even, and confirm no hose, clamp or weather hood is pinched. If the housing has a restriction indicator, reset it or record its start position now rather than after the first run.
- Restart, then verify against the baseline from step one. Run the machine through a full load-and-unload cycle. Compare the vacuum or differential-pressure reading, listen at the housing joint for an intake whistle that means air is bypassing the seal, and watch the discharge-temperature trend against its previous value. Log the change date and the running hours so the next interval comes from measured behaviour instead of a calendar guess.
6. Frequently Asked Questions
Start from 3,000 to 4,000 running hours, which is the interval declared for this element under normal conditions, and then shorten it to match what the machine actually breathes. The same declaration states that real life depends heavily on the operating environment, so a woodworking, paper, textile, food or welding shop will reach the end of an element's useful life in a fraction of those hours. In practice: inspect visually at 500 to 1,000 hours, log the inlet vacuum or restriction indicator reading at each inspection, and let the measured pressure drop — not the calendar — set the final interval.
Usually yes, from three symptoms taken together: the machine takes longer to reach cut-out pressure for the same demand, discharge temperature runs higher than its own history, and free air delivery at the tools falls while the motor still draws full current. A useful test is to record the time to go from minimum to maximum pressure on an idle machine now, then repeat it after a known-good element is fitted — a measurable improvement in that time is the blocked filter. A visual check of the dirty side is evidence too, but do not judge a filter by colour alone; clean-looking media can be plugged on the inside face.
The published size is outer diameter 130 mm, height 120 mm, and the cross-reference codes are C1368, SA6620 and 98262-205. Confirm fit in this order: match the cross-reference code to your machine's parts list first; then measure your housing bore and the depth available, and check the inner bore diameter and the end-cap profile against the drawing. Outer diameter and height alone are not sufficient, because the seal is made by the end cap and the centre bore, and elements of the same OD and height from different manufacturers do differ there.
Because the intake filter is only one of several causes, and if the machine ran plugged for months the fouling has moved downstream. Work the list in this order: cooler exterior blocked with the same dust the filter was meant to catch, low or degraded oil, a collapsing oil separator element raising internal pressure difference, a stuck or leaking inlet valve still passing partially closed, a hot room with no fresh air supply, and finally a bypassed intake that let dust through for a long period. If the filter had visibly leaked or the housing had been left open, assume the cooler and separator are involved and treat them as part of the job.
Not unless the media is equivalent. Price per piece is a small number next to the cost of an airend or a wasted production day, and the two properties that decide whether a substitute protects the machine — filtration efficiency and dust-holding capacity — are not published for most aftermarket elements. Ask for efficiency with its test standard, initial and terminal pressure drop, and a media type you can compare. If a supplier cannot produce those four items, you are buying a dimension, not a filter.
The published minimum order is one piece, and logo customisation is also offered from one piece, so a single sample to verify fit is a normal order rather than a favour. Lead time on the listing is 3 to 7 days, with stock items quoted at 1 to 3 days and customised orders arranged separately. Each element ships as a single item in an 18 x 18 x 16 cm carton at 0.55 kg gross, which keeps a sample's freight predictable.
7. Summary, Spares Policy, and How to Order
Changing an air filter is not a difficult job, which is exactly why it is done badly: the housing is opened without recording the baseline, the interior is left dirty, the element is seated with force, and nobody listens for the intake whistle that says it is bypassing. Do the nine steps in order, keep the old element as evidence for ten minutes, and the next interval you set will be based on a measured pressure drop instead of a guess.
On spares. An intake filter is the cheapest insurance in the machine room, so the sensible stock level is one element per machine plus one for every two machines in a dusty plant, ordered against the cross-reference code rather than the machine brand. Buying by code also frees you from single-source pricing without changing what the airend sees.
Quote the cross-reference code, the housing bore and the depth, and we will confirm fit before anything ships. Elements are made to order on branding from a single piece, stock items leave the Dongguan factory in 1 to 3 days, and every consignment carries a machinery test report plus a video inspection of your own parts before dispatch.
- Air Filter Lifespan: When to Replace It — the interval logic behind the 3,000 to 4,000 hour baseline.
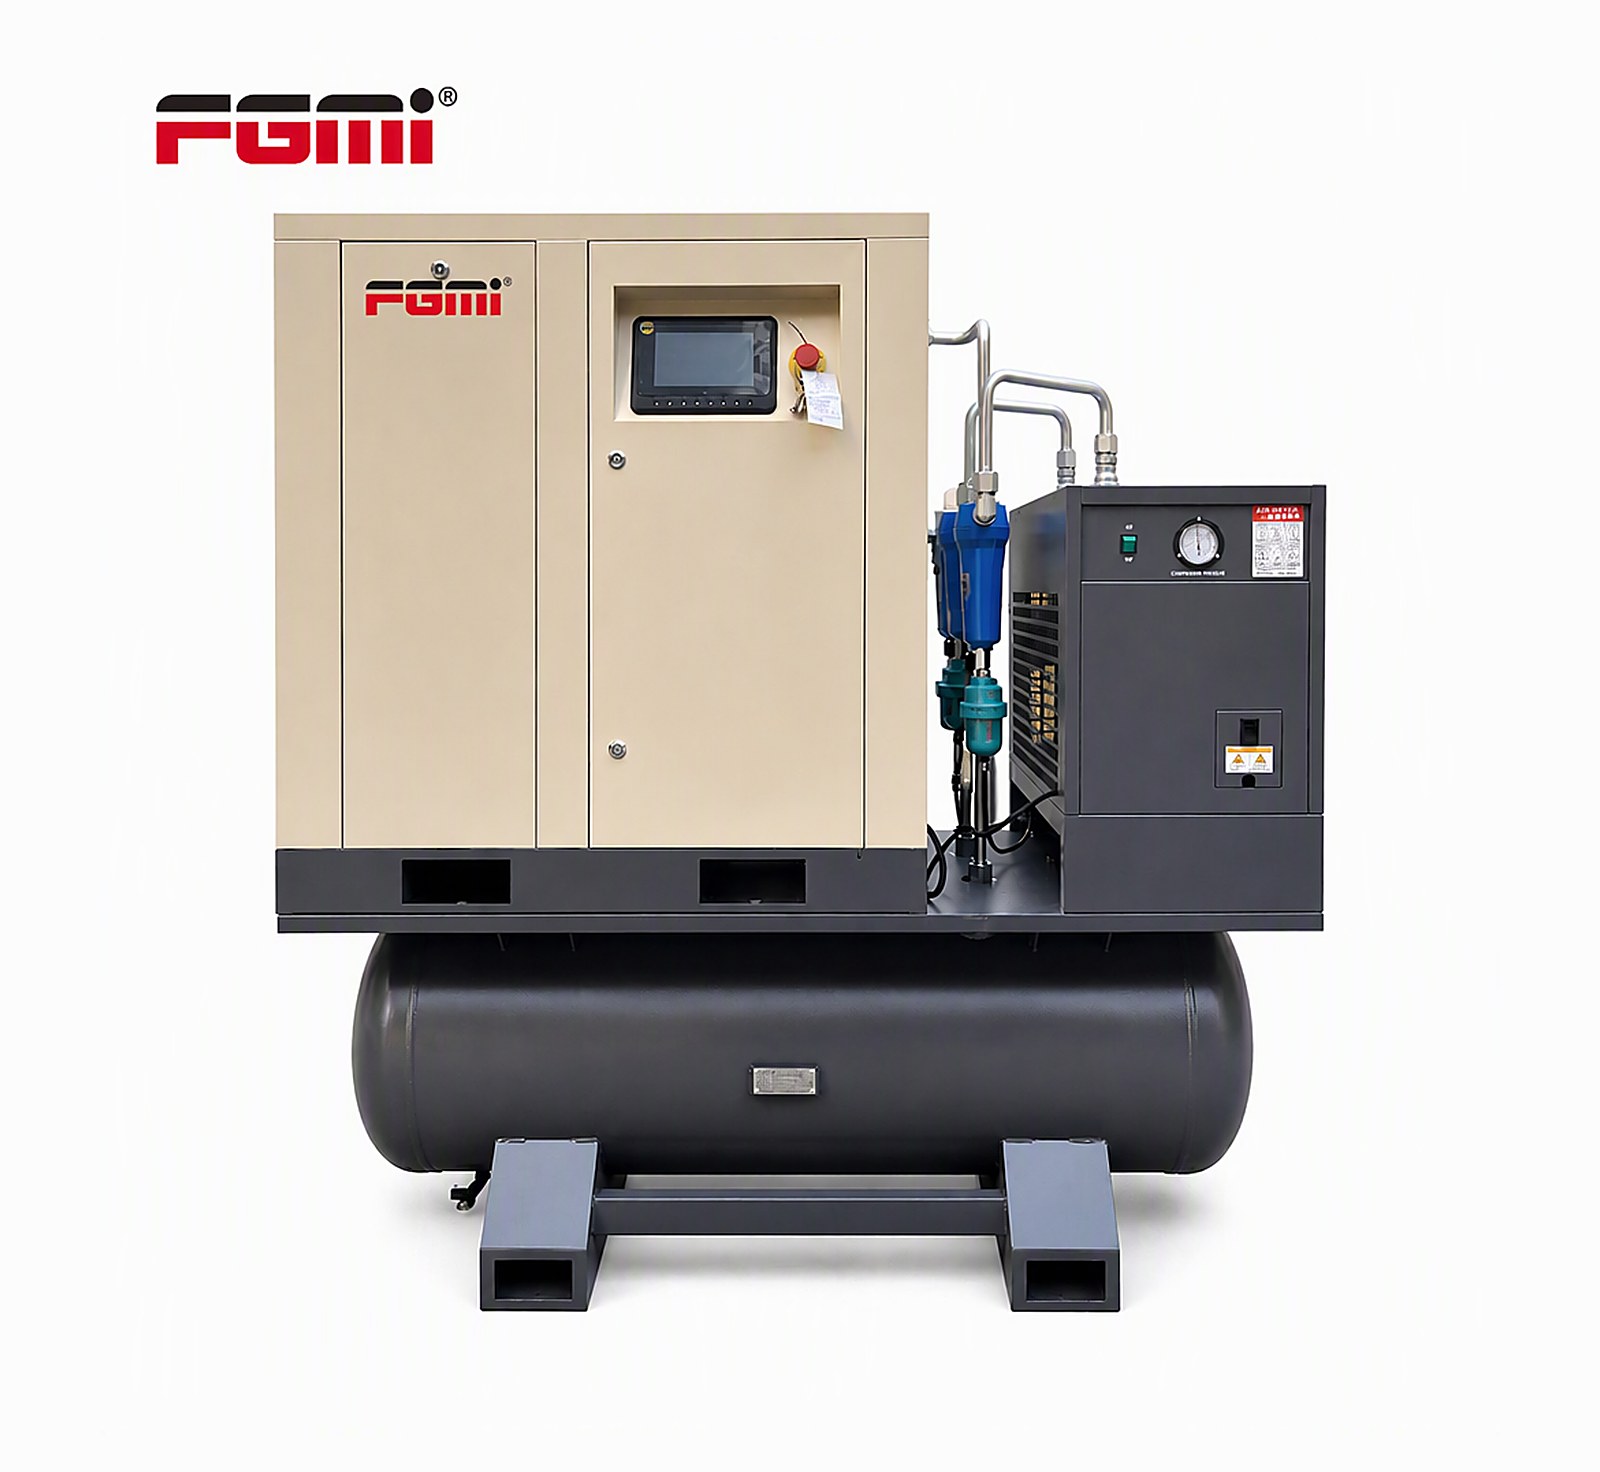
- 7.5 kW / 10 HP Screw Compressor With Dryer and Tank — the packaged set these elements serve.
- How to Prevent Air Compressor Overheating — what a plugged intake does to discharge temperature.
what size air compressor do i need
where to buy industrial air compressors
Related Article